DEVELOPMENT
GATSBYJS
Creating Linked Blog Post Headers using MDX on GatsbyJS
Letting readers link directly to a section of a blog post is a helpful feature to have on a blog, here's how to implement it on a GatsbyJS blog.
MDX is a great way to blog if you’re a developer. I’ve been using it on my personal website for a few years now and have had very little reason to switch from it.
One of it’s biggest pros is how flexible it is. If you want to add some new fields or change the way it displays, you can easily do it from your codebase.
Today, we’re going to be looking at how to create linkable headers for every blog post on a GatsbyJS website using MDX.
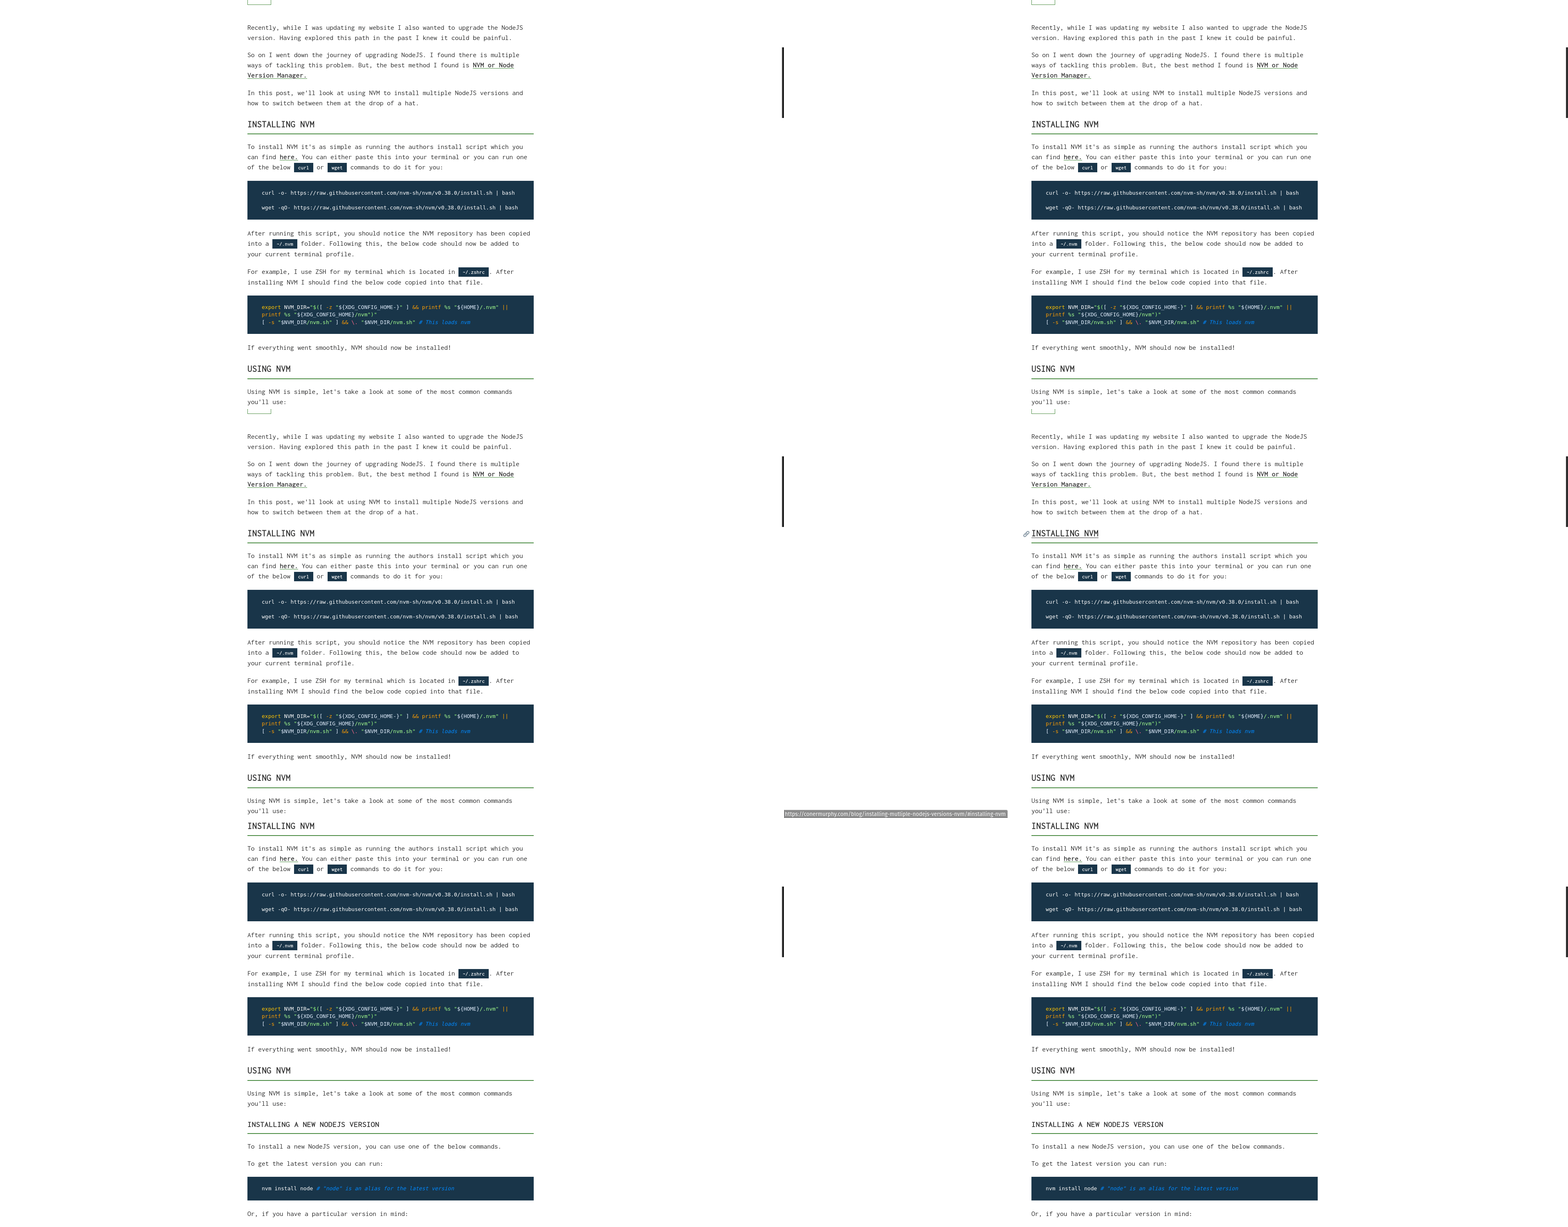
If you’re not sure what I’m on about, here is an example:

As you can see when I hover over the header, it becomes underlined with a link emoji appearing. Also, in the bottom left of the screen you can see the URL it will link to.
This is what we’re going to create.
Prerequisites
Before starting this you need to have a blog already set up on GatsbyJS using MDX. If you have a GatsbyJS blog already but haven’t converted it over to MDX, you can check out the MDX plugin page here.
If you already have all your blog posts generated using MDX then you’re ready to get started.
Basic Setup
One of the reasons I love using GatsbyJS is because after defining one template file, all our blog posts are generated using it. This makes adding in linked headers a breeze because we only need to amend the template.
For this to work, we need to ensure our MDX is being generated using a list of custom components. To do this create a separate file with all the components that you need to use. Below is an excerpt from mine. If you want to view the whole file, you can on my GitHub repo here.
import styled from 'styled-components'
import React from 'react'

const H1 = styled.h1`
  font-size: 2.75rem;
`

const Components = {
  h1: (props) => <H1>{props.children}</H1>,
}
For brevity, I’ve only included the
`H1`
tag as an example. You will need to expand this out to all the header tags you want this to work for.
Once, we have this basic file laid out, we need to integrate it into our blog post template file like so:
import { MDXRenderer } from 'gatsby-plugin-mdx'
import { MDXProvider } from '@mdx-js/react'
import Components from '../components/mdx/Components'
;<MDXProvider components={Components}>
  <MDXRenderer>{body}</MDXRenderer>
</MDXProvider>
By passing the components file to the
`MDXProvider`
it will use these components when rendering out the body of the post.
Adding the linked headers
Adding the functionality of the linked headers is as simple as amending the components file.
Here is an updated version with the functionality added.
import styled from "styled-components";
import React from "react";

const H1 = styled.h1`
  font-size: 2.75rem;
`;

function copyToClip() {
  navigator.clipboard.writeText(window.location);
}

const Components = {
  h1: (props) => (
    <H1 id={props.children.replace(" ", "-").toLowerCase()}>
      <a
        href={`#${props.children.replace(" ", "-").toLowerCase()}`}
        onClick={() => copyToClip()}
      >
        {props.children}
      </a>
    </H1>
  ),
};
Let’s cover what’s happening here.
When MDX renders the body, it passes each instance of each tag to the corresponding custom component. This allows us to retrieve the text by using
`props.children`
. We use this to create our URLs and IDs to link to.
For example, let’s look at this section title:
Original header text: Adding the linked headers
URL/ID version: adding-the-linked-headers
By adding this text to the ID of the element we can link to it with an
`a`
tag.
Let’s look at creating the link. First, we wrap the text of the element in an
`a`
tag with a href equal to the link we created earlier. Make sure to precede it with a # so we link to an id on the page and not an actual page.
So, with all the above sorted we have a
`H1`
element on the page containing an
`a`
tag linking to the parent
`H1`
tag.
As it stands this works. But, we’re missing out on the best part. When someone clicks on the link we want it to copy to their clipboard so they can share it.
Clipboard Functionality
To add the clipboard functionality we need a
`onClick`
handler:
function copyToClip() {
  navigator.clipboard.writeText(window.location)
}

;<a
  href={`#${props.children.replace(' ', '-').toLowerCase()}`}
  onClick={() => copyToClip()}
>
  {props.children}
</a>
Now, when someone clicks on a header they have the URL copied to their clipboard.
Styling
All the functionality is now complete. The final thing we need to look at is the styling.
To show the user, that a link is clickable when they hover on it we want to underline the link and add a 🔗 emoji next to the link.
To achieve this, create a separate component like so:
const PostBodyContainer = styled.div`
  & > h1,
  h2,
  h3,
  h4,
  h5,
  h6 {
    position: relative;

    & > a {
      text-decoration: none;
      width: 100%;

      :hover {
        text-decoration: underline;

        & ::before {
          content: '🔗';
          transform: translateX(-2rem);
          position: absolute;
          font-size: 1.5rem;
          bottom: 12.5px;

          @media (max-width: 600px) {
            display: none;
          }
        }
      }
    }
  }
`
We then wrap the MDX componets in this new component, like so:
<PostBodyContainer>
  <MDXProvider components={Components}>
    <MDXRenderer>{body}</MDXRenderer>
  </MDXProvider>
</PostBodyContainer>
Thanks to the
`::before`
psuedo element we used, when someone hovers over the link they get the emoji appearing to the left of it and the link underlined.
Summing up
Following this tutorial, you should now have custom linkable headers set-up on a GatsbyJS blog using MDX. If you have any questions or any issues I would be happy to help. Just reach out to me over on Twitter and I’ll get back to you as soon as possible.
If you found this post helpful, please consider sharing it so others can find it helpful to. If you want to see more content like this, please consider following me on Twitter where I regularly post threads and other posts.
Thanks for reading. 😃